Information will appear here soon😊1.Download the installer in the UserArea and run it.
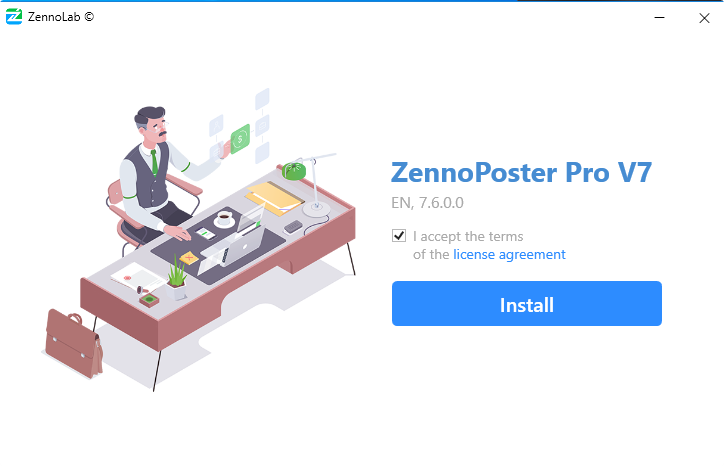
2.Read the terms of the license agreement and accept them if you agree with them, then click the "Install" button.
| Expand | ||
|---|---|---|
| ||
 |
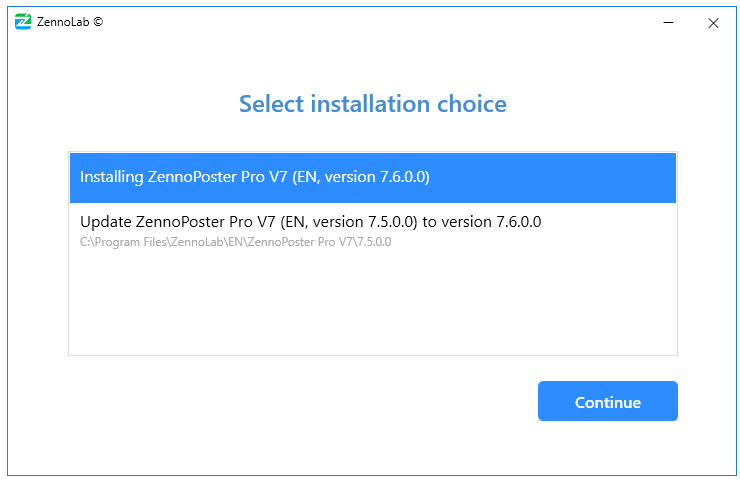
3.Installation option.
If there are old versions of the program on the computer, the installer will offer either update one of them to the version that you install or make a separate installation (several versions of the program can be installed on the computer).
| Expand | ||
|---|---|---|
| ||
 |
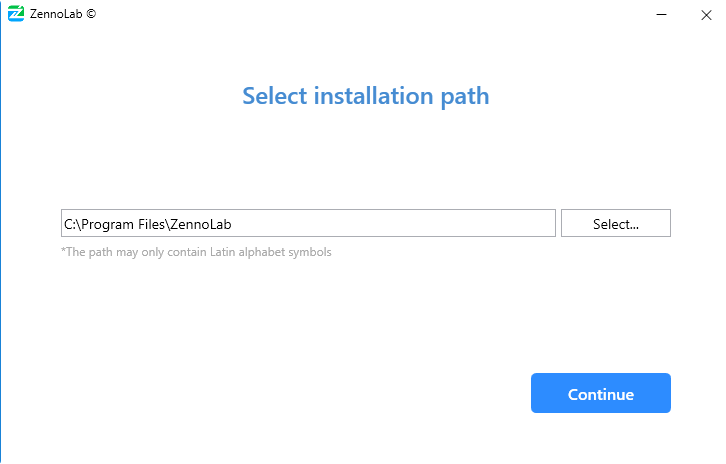
4.Installation path.
Select the path to install or leave the default, and click "Continue" (it is not recommended to change the default path).
| Expand | ||
|---|---|---|
| ||
 |
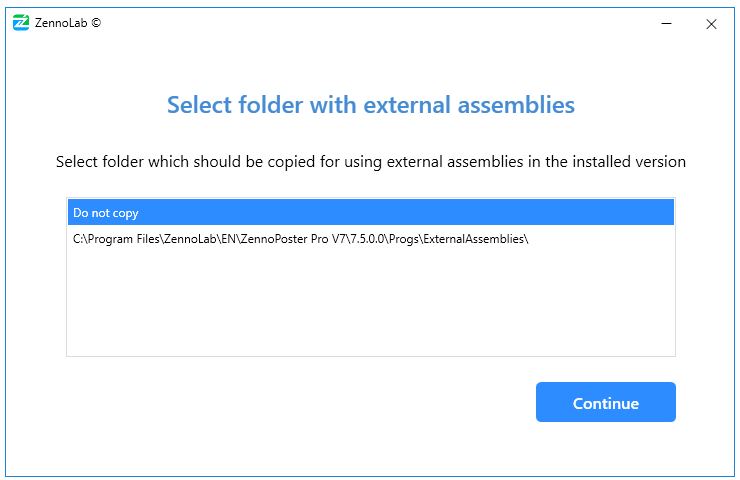
5.Select the folder of external assemblies.
If in one of the previous versions you used external dll libraries and copied them to the ExternalAssemblies folder, then at this step you will be prompted to automatically copy the ExternalAssemblies, to a new installation.
| Expand | ||
|---|---|---|
| ||
 |
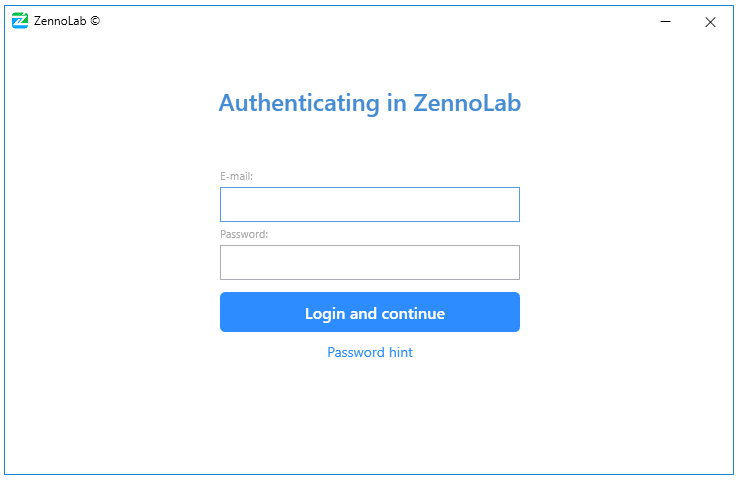
6.Enter authenticating data.
Enter your email and password from your personal account and click "Continue."
If you forgot the password from the account, then click "Password hint" - the default browser will be opened on the password recovery page.
| Expand | ||
|---|---|---|
| ||
 |
7.License selection.
...
In this window you can choose a license (if you have several of them) and whether you need to activate the program installed on the current computer.
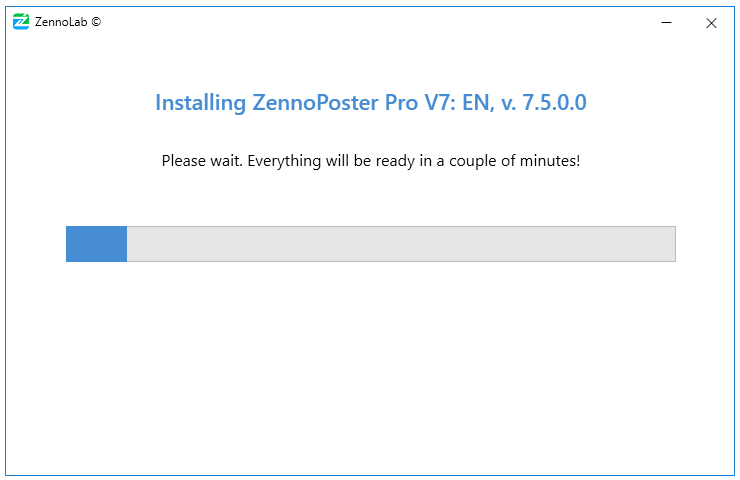
After you have selected, click "Continue" and the installation process will begin.
| Expand | ||
|---|---|---|
| ||
 |
| Expand | ||
|---|---|---|
| ||
License selection If you purchased several copies of the program, then at this stage you can choose which license you need to install.
The Pro Edition can be installed simultaneously on three computers. ProjectMaker will work on all three, but ZennoDroid/ZennoPoster is only on the activated one! You can activate hardware in your account. It is easier to explain on the example: you installed the program on the server and on the home computer. The server is activated equipment and there is ZennoPoster, and on the home computer, you will develop templates. |
When it is completed, you can click the "Run" button, and then ProjectMaker opens or close the window with a cross in the upper right corner.
| Expand | ||
|---|---|---|
| ||
 |
...
Settings of the program and projects from previous versions
Most of the settings are stored in AppData. To quickly get into this directory call the "Run" window (Win+R), enter %appdata%\ZennoLab and click OK.
...
If the previous version of the program has been installed on the computer, the new version will get settings of the previous one automatically (if you didn’t delete the program directory in AppData).
...