| Panel | ||||||
|---|---|---|---|---|---|---|
| ||||||
Please read the Terms of Use for Materials on ZennoLab |
Table of contents
| Expand | ||||||||
|---|---|---|---|---|---|---|---|---|
| ||||||||
|
Description
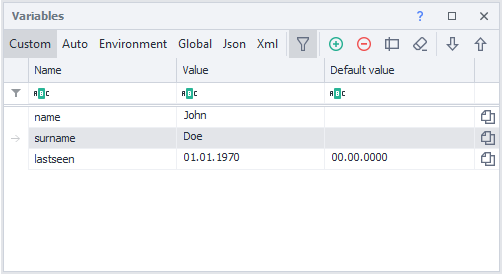
Variables window is used to create, delete, rename project variables and edit their values. In fact, this window is a table with the ability to edit and sort variables.
This window is useful for debugging.
During project execution, you can change the values of variables using the Variables processing action
What is it used for?
Various manipulations with variables.
Tracking changes occurring to variables in the process of debugging a project.
How to open a window?
One of the ways to open the "Project variables" is to click on the corresponding button in the static blocks panel.
| Note |
|---|
If you do not see the panel of static blocks, then right-click on an empty space of the working window and set the "Display static blocks" checkbox in the context menu. |
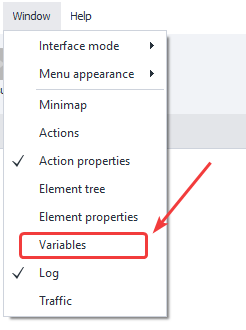
The second way is through the Window => Variables menu.
Control elements
Let's consider each element of the variable window:
Variable types
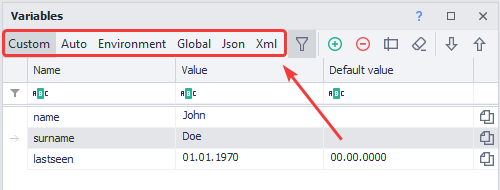
In fact, this is a tab that switches the display of the selected type of variables. Has six options:
Custom
These are variables that the user himself creates in the process of writing a template. Variables must be in English. Spaces and characters other than the underscore _ character are not allowed. Numbers are allowed in the name of a variable, but not at the beginning of a word.
Auto
Auto-variables are generated automatically in the project recording mode, as well as when adding some cubes, for example, when automatically adding a Cube Getting value. Autogenerated variables have approximately the following names - Variable1, RecognitionResult0, however, you can always move auto-variables to Custom and give them any name you want there.
How to move an automatically created variable to custom?
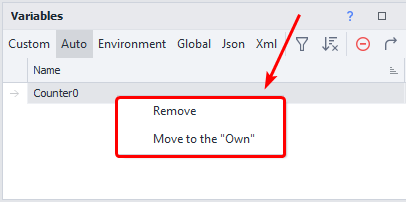
To do this, go to the Auto tab, select the variable and click the "Move to the Own" button:
After moving a variable to Custom, you can rename it to a more meaningful name.
Environment
This tab displays the project environment variables: various parameters of the instance page (URL, DOM, text, domain, notification and alert text, etc.), time and date variables, project variables (name, folder, proxy rules, id of the last error etc.), numerous profile variables (mail, gender, name, user agent, etc.)
The full list of available environment variables you can find in this article - Environment variables in ZennoPoster
Global
Ordinary variables are visible only within one project thread (if the project works in multi-threaded mode, then each thread will have its own local, independent variable)
Global variables are available for all projects and their threads in ZennoPoster.
To avoid confusion, global variables have an additional property - Namespace.
| Note |
|---|
ProjectMaker and ZennoPoster have separate globals. In other words, changes made to the global variable in PM will not be visible in ZP, and vice versa. |
Json
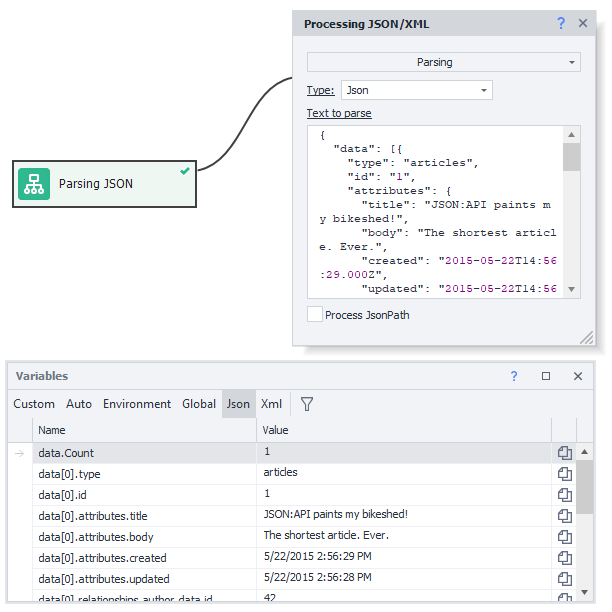
These variables are also generated automatically, but during the JSON parsing process. In the "Parsing" mode of the "Processing JSON / XML" action, you can immediately decompose values from JSON text into automatically created variables with corresponding nodes.
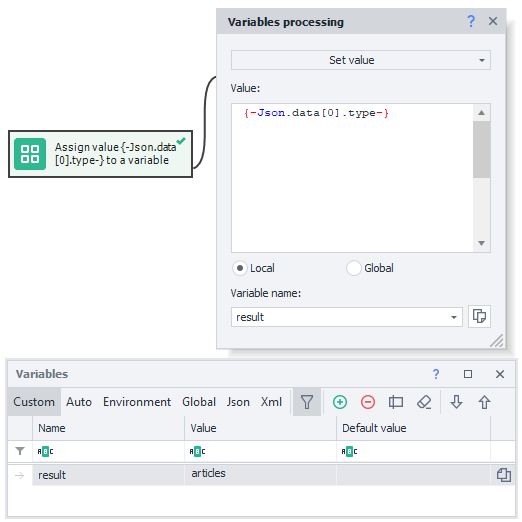
Further in the project, you can use these variables through the prefix {-Json… .-}, or in C# through the project.Json object; Read more: Processing JSON and XML
Xml
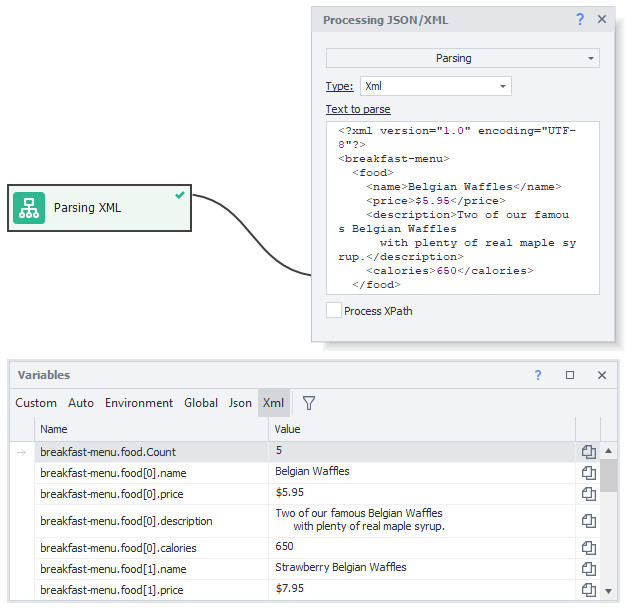
XML variables are automatically created in the appropriate tab after parsing the XML document. In the "Parsing" mode of the "JSON / XML Processing" action, we parse XML, which, in turn, can also be in a variable.
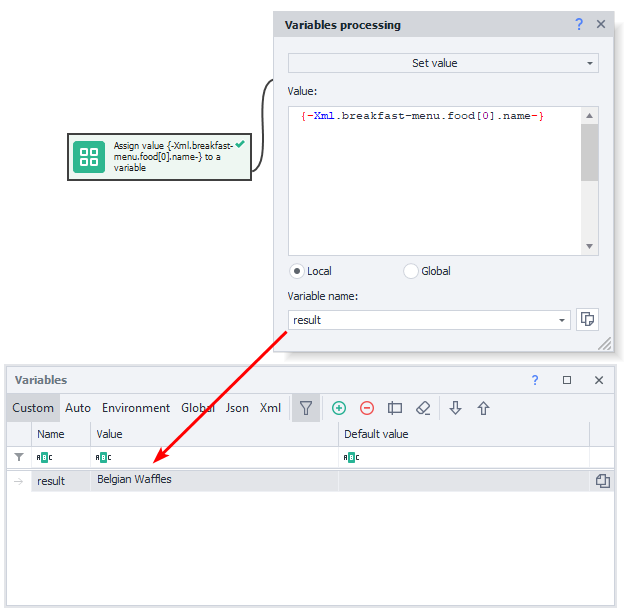
As well as JSON variables XML variables can be used via the prefix {-XML… .-} , or in C# via the properties of the project.XML object ; More details: Processing JSON/XML
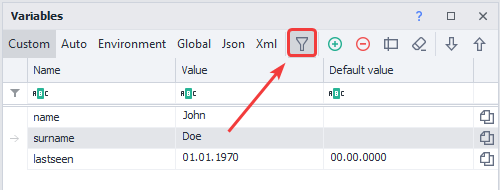
Filter
Opens and closes the filter field
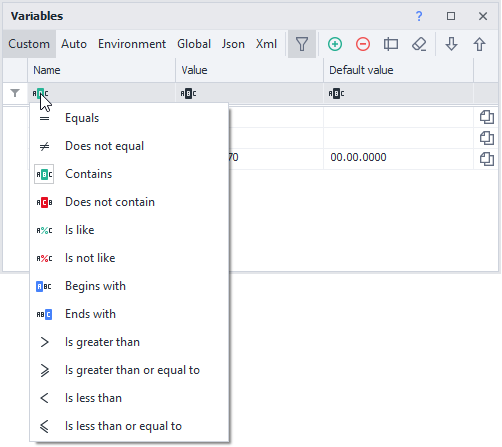
Filtration field
If the project has a large number of variables, then finding the desired variable can take a long time. Therefore, multifunctional filtering is provided in the variable window. Each column can be filtered differently in one of 12 ways.
You can read more about filters in the article describing the Log window.
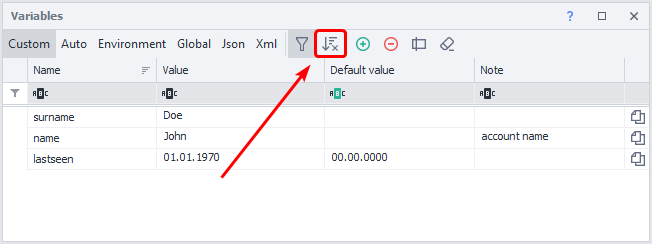
Remove sorting
Resets sorted variables (p. 8)
The button is displayed only if the variables are sorted by one of the columns. For more information on sorting, see the paragraph on Headings.
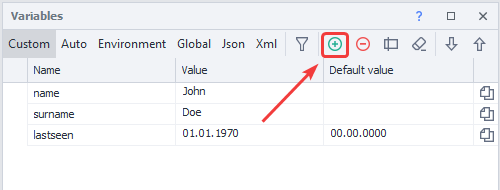
Add
Opens a dialog box in which you can enter the name of the variable being created.
The variable name can consist of letters of the Latin alphabet, numbers and the underscore character. But it must necessarily start from a letter.
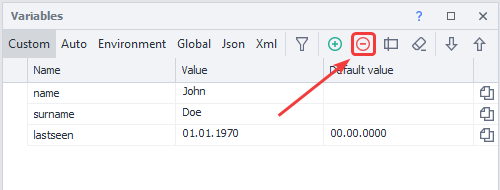
Remove
Deletes the highlighted variable, after displaying a confirmation window. To select a variable, just click on any place in the line of this variable.
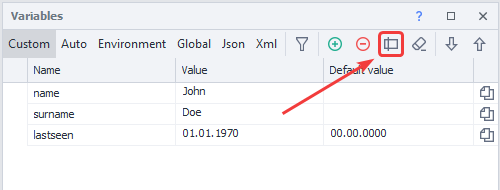
Rename
Display a dialog box with the ability to edit the variable name.
Quick access to renaming is a double click on the variable row in the "Name" column area.
Renaming is available only for the Custom and Global types.
| Note |
|---|
The variable name will change in the same way in all actions where it is used! |
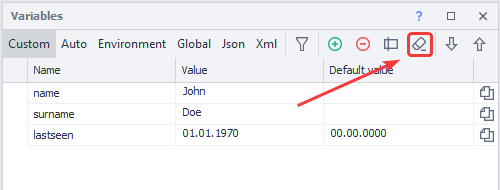
Cleanup unused variables
Variables are often created in large projects that later do not participate in the template. In order not to take up memory space and visually not take up valuable work space, it is recommended to periodically delete such variables. ZennoPoster will find all unused variables and list them with a suggestion to delete them. Each cleanup must be done for each type of variable.
Manual sorting of variables (Drag & Drop)
| Info |
|---|
Added in ZennoPoster 7.2.1.0 |
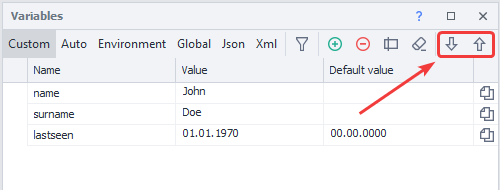
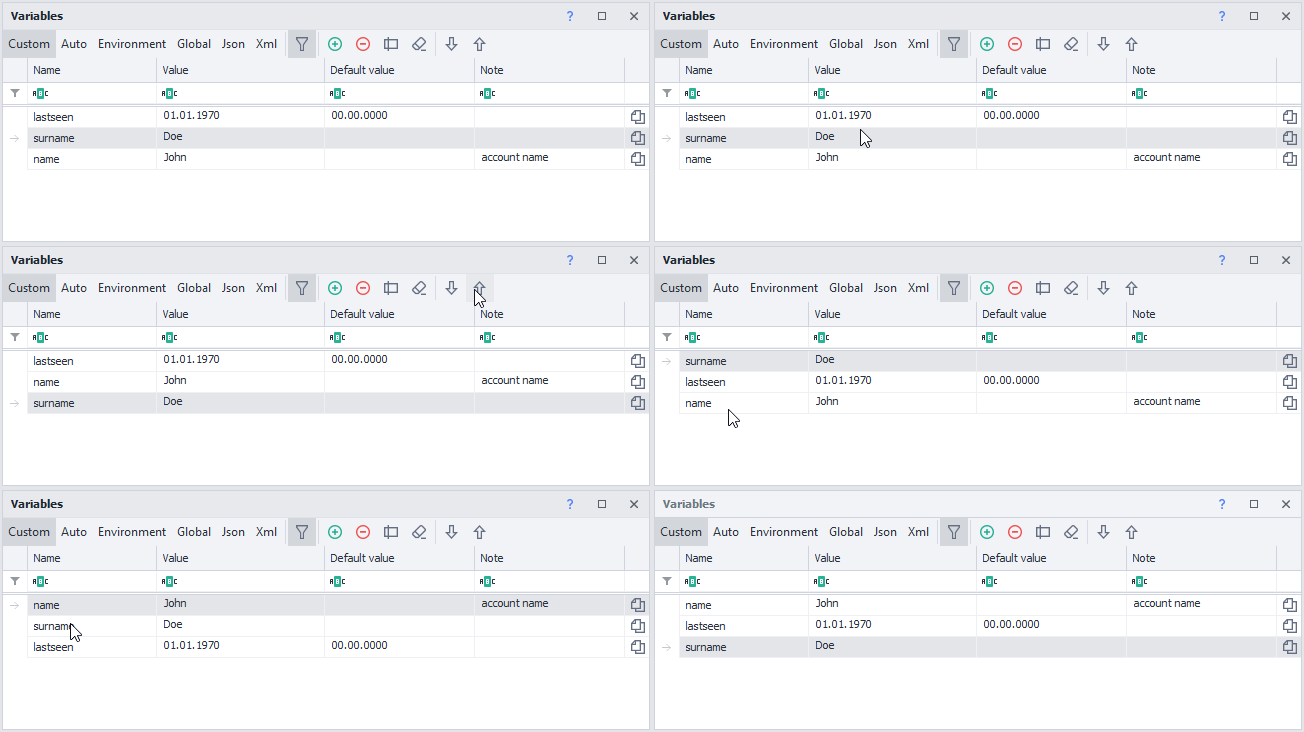
You can arrange the variables as you like using the “Up” and “Down” buttons, or using the mouse (Drag & Drop). Custom order works when sorting by columns is disabled (to do this, click on the "Clear sorting" button).
| Expand | ||
|---|---|---|
| ||
To reset the manual placement, you can sort the variables by one of the columns.
Column headings
At the same time they serve both for filtering variables and for sorting. It is enough to click on the column heading and sorting will take place both in ascending order of the variable name and in descending order, as in ascending value of the variable, and in descending order. A second click changes the sorting direction.
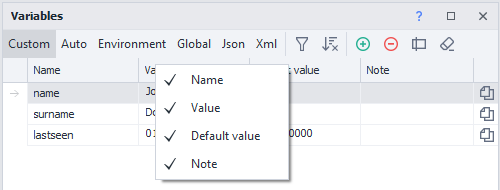
By right-clicking on the header of any column, a menu will appear in which you can select the displayed columns.
Column "Name"
The names of the variables used in the project are displayed here
If you double-click on the variable name, a dialog box for renaming will appear.
| Note |
|---|
Variable names are case sensitive: Name, NAME, name - three different variables! |
Column "Value"
Displays the current values of variables. By clicking on the value of the selected variable, you can edit the data directly in the input field.
Column "Default value"
If you want the variable to have some value at the start of the project (at the start of the project, all variables are empty), then you must enter the desired value in this field.
Environment variables, Json and Xml have no default values and therefore this column is not present in their view.
Column "Note"
This column is hidden by default.
Can be used for annotating variables (here you can specify for what purpose this variable is used)
Global variables have an additional namespaced column.
Copy macro to clipboard
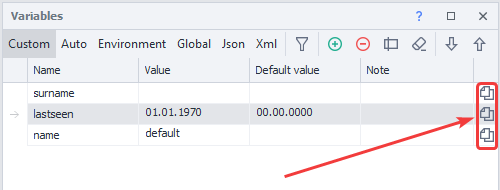
A quick way to copy a macro like {-Variable.value-} is to click on such an icon in the variable line.
Context menu
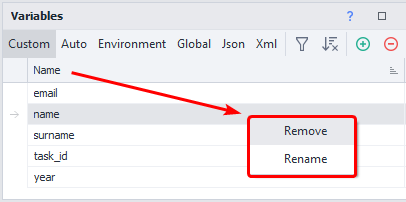
By right-clicking in front of the variable, a context menu will appear.
Available for the Custom, Auto and Globaltabs.
Custom, Global Tabs
Auto tab
Copying variables from project to project
It is often necessary to create a new project using variables from the old template. Copying variables one at a time is extremely inefficient. Therefore, you can copy all the variables of one project at once and paste them into another.
Open your old project.
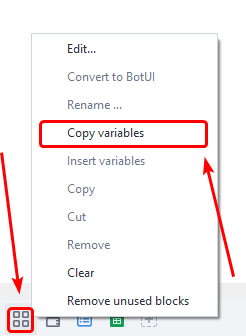
Right-click on the Project Variables button in the Static Blocks Panel and click Copy Variables.
Then open a new project and again right-click on the “Project Variables” button in the “Static Blocks Panel” and click on “Paste Variables”.
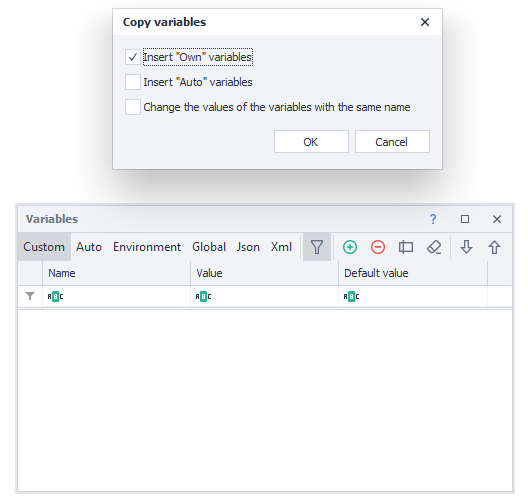
In the window that appears, select the type of variables you want to insert into the project with checkboxes and confirm the insertion of variables. Variables are copied along with their default values.
Working with variables
Variable macros
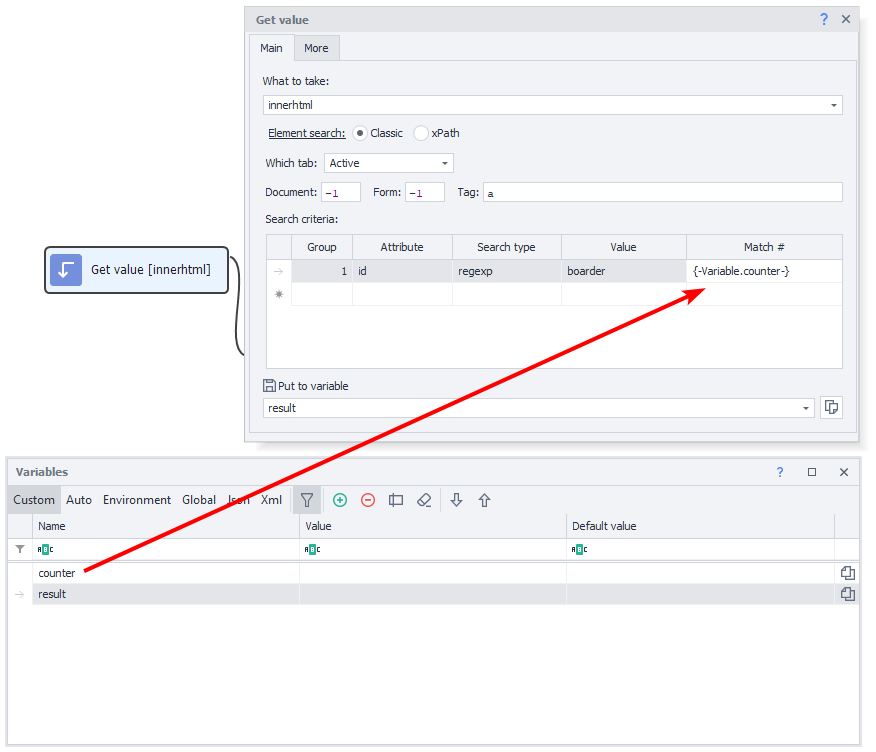
In ProjectMaker, you can use variables through macros that look like {-Variable.myVariable-} - this macro will pass the value of the myVariable variable when the project is running. It is enough to insert a macro of a variable into any field of the properties of an action (where possible) and when the action is executed, the value of the corresponding variable will be substituted in the field.
For global variables, you need to specify the scope in the macro -{-GlobalVariable.someNamespace.text-}
| Expand | ||
|---|---|---|
| ||
Basically, there are three types of variables in ZennoPoster:
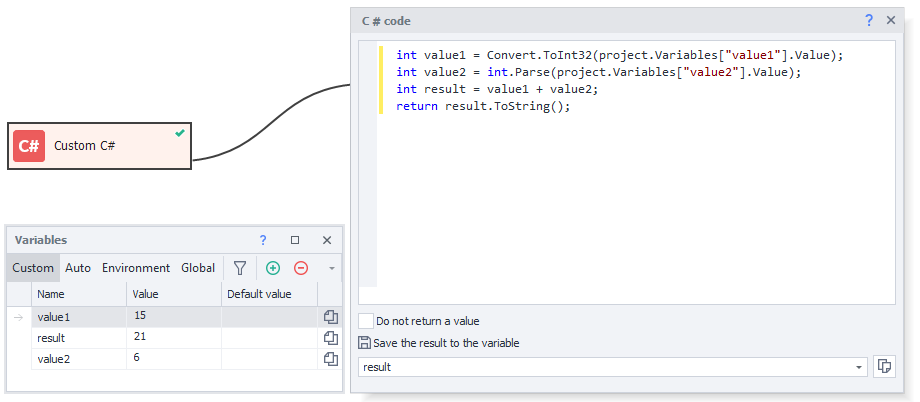
You can perform various operations with variables both in the C# cube and in the JavaScript cube, but you need to keep in mind that in C# all variables come in text form and in order to convert them to a number or to logical variables, you will need to convert or cast to the desired type. For example, this is how it looks like casting string variables in C# to an integer (int) type in two different ways, adding them and returning them to a string variable for further use in the project: For operations with strings in a JavaScript cube, you need to wrap text variables in quotes - |
Variable naming guidelines
Try to give the variables names by which the task and scope of the variable becomes immediately clear. No need to name variables with short and meaningless names -f1, qwerty - this makes it much more difficult to fix and maintain the project both for yourself and for other developers who will have access to the template. If a variable is often used in a project, then it is advisable to name it shortly, but clearly - counter, username, proxy.
For names based on two or more words, try to separate them either with a capital letter (secondPassword), or an underscore character (page_html).
These are common practices that will dramatically improve the readability and efficiency of your project.
Assigning a value
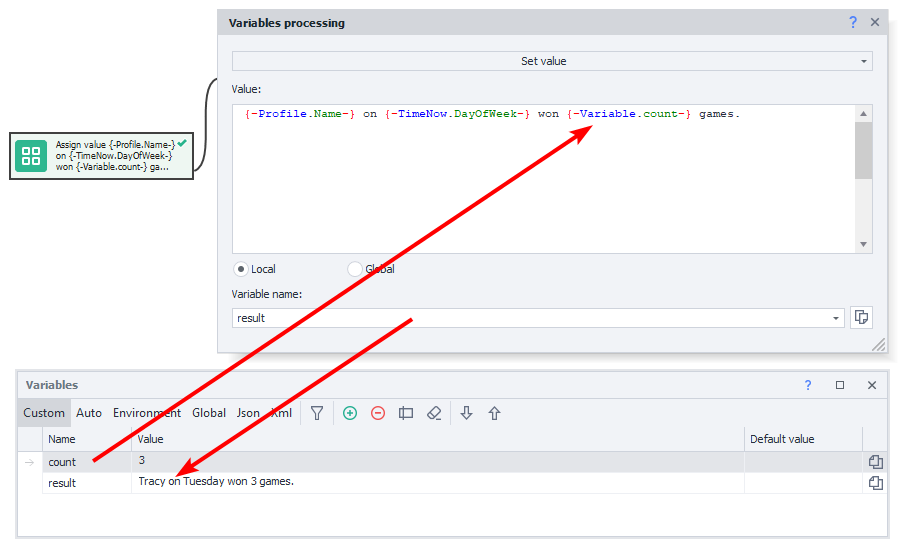
The simplest example of using variables is to combine static text, custom variables, and environment variables using the Variables processing action.
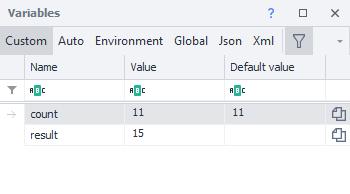
In this example, the name is taken from the environment variable {-Profile.Name-}, day of week from {-TimeNow.DayOfWeek-}, and age from its variable count. After starting the cube, the result is stored in a variable result.
Arithmetic operations on numbers
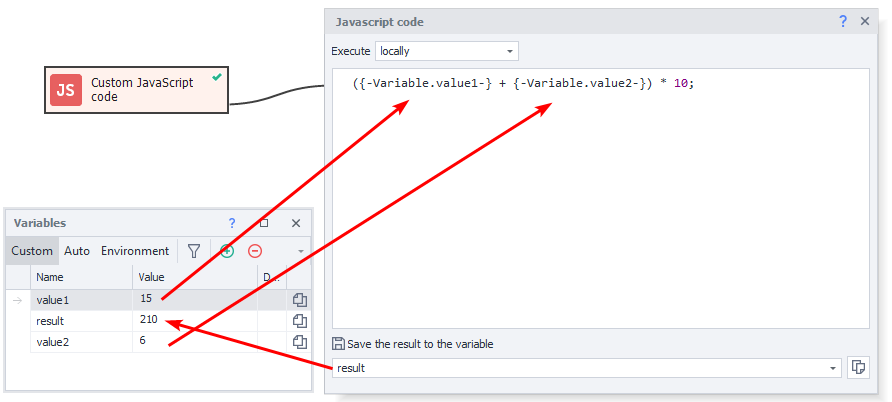
Using the syntax of the JavaScript language and the corresponding cube, you can perform various mathematical operations on numbers.
In this case, in the variables value1 and value2 there are integers that need to be added and then multiplied by 10. The result of calculations goes into a variable result.
Using Variables
Try to use variables instead of hard-coded text in places where the value might change at some point.
An example is file paths - there is one path on your computer, but a different path for the client. If the required file is located in the same directory with the project (or in one of its subdirectories), then a good solution would be to use the {-Project.Directory-} macro - the path to the directory where the template is saved. This is how the path might look like - {-Project.Directory-} file.txt
