Description
| Info |
|---|
Available in ZennoPoster version 7.3.1.0 and higher. |
Profile-folder is an alternative way of saving a profile, which differs from the usual saving of a profile to a file. It aims to solve problems such as:
Profile integrity
When saving to a file, in case of instance errors, the profiles could be “broken”. The profile folder should solve these problems - when you start the project, you run the instance and tell it to use a specific profile folder. During operation, the instance saves part of the data to the profile folder without your participation, as a regular browser does. And if the instance goes bad, the data will remain in the folder. Instance data such as:
Cookie
Local storage
HSTS Super Cookie
Indexed DB
Everything related to the profile (name/surname, email, password, etc.).
Everything related to the browser profile (UserAgent, Accept, Accept-Language). Now the browser profile also includes fonts, plugins, time zone, geolocation and WebRTC, so they are saved automatically as well.
The only things that are not automatically saved are Proxies and variables (to save them you need to call a special action, see Profile Pulling)
Fast loading and saving
When working with a file, with prolonged use, the file size could increase, which led to an increase in the loading and saving time. A profile folder stores data in several files, and at the time of recording affects only the necessary ones. It works much faster.
| Note |
|---|
Unlike the profile-file, the profile-folder cannot be loaded using the “Operations on the profile” action. To use a profile-folder, at the beginning of the project you need to run an instance specifying the required profile-folder, and then the instance will be, as it were, “tied” to this profile-folder during operation. See examples below for details. |
How to convert old profile files to the new profile folder format?
Demo project:
| View file | ||
|---|---|---|
|
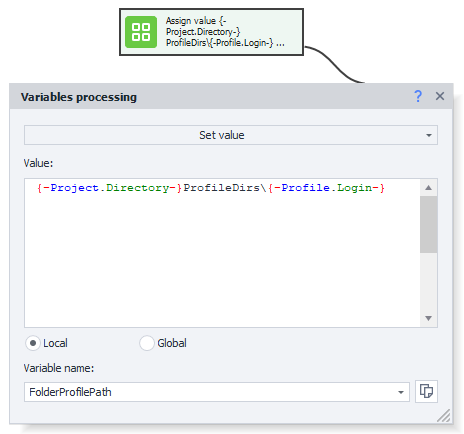
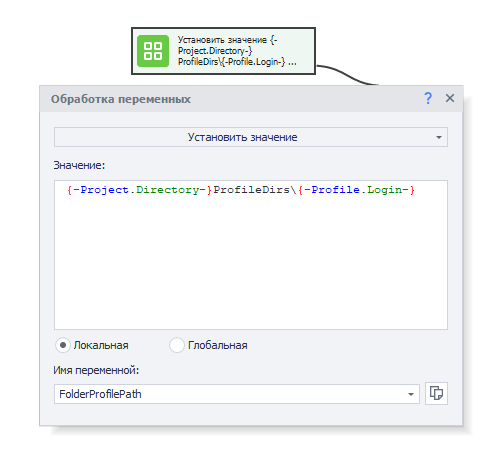
Prepare the path where the profile folders will be stored. For example, in your project folder:
| Code Block |
|---|
{-Project.Directory-}ProfileDirs\ |
+ you need to add a unique profile-folder name to it, just as you did with the profile-file.

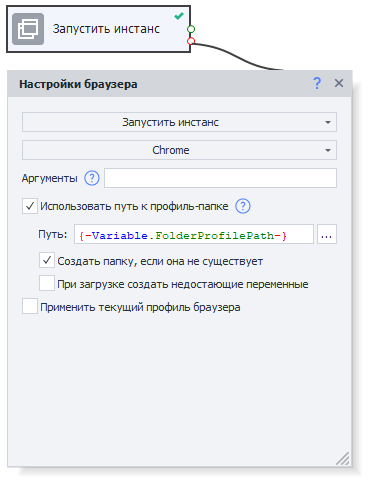
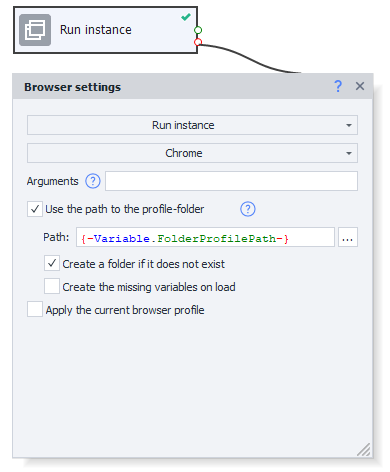
2. Run instance with an empty profile folder. Your instance will bind the profile folder to this path.
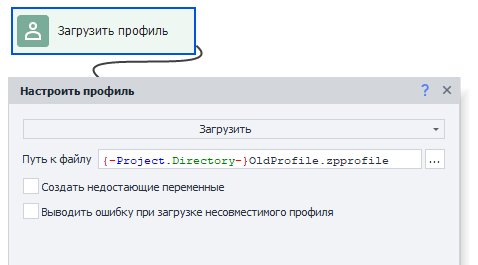
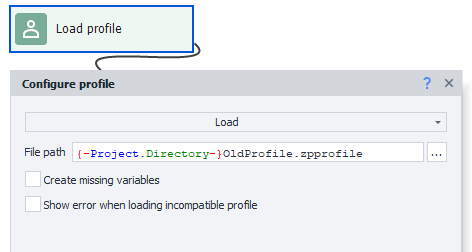
3. Load profile from file. Your profile-file will be loaded into the instance (which is already linked to the profile-folder)
4. Save the profile-folder. So the data from the instance will be saved to the profile folder (the ones that we downloaded from the file)
How to use profile folder
Using a profile folder solves approximately the same tasks as before. Some of them are listed below:
“Feeding” profile
Demo project:
| View file | ||
|---|---|---|
|
Prepare the path where the profile-folders will be stored. For example, in your project folder:
| Code Block |
|---|
{-Project.Directory-}ProfileDirs\ |
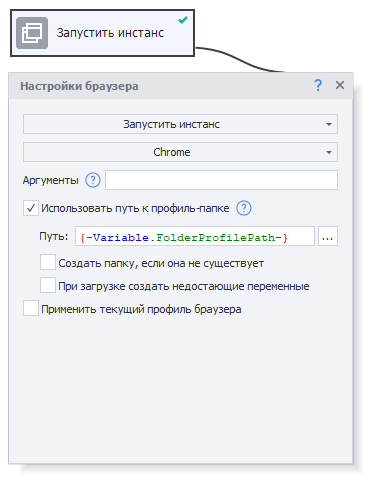
2. Run instance with an empty profile-folder. Your instance will bind the profile-folder to this path.
It is required to select “Chrome” and mark the box “Use path to profile-folder”. There must be a checkbox “Create folder if it doesn’t exist”, otherwise the absence of necessary files in the folder will be interpreted as an error, and the red line will be exited.
3. Work up a profile. Execute the actions that are necessary for feeding.
4. Saving a profile folder.
If you do not need to save variables/proxies, then you do not need to add a special cube. The profile folder will be saved automatically when you restart the instance, close the program, or when the project ends.
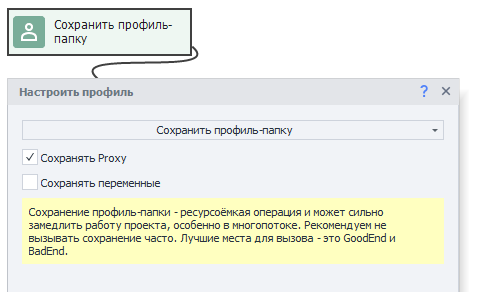
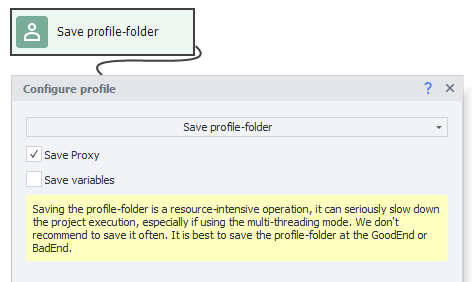
If you need to save variables/proxies, then you should run the "Save profile-folder" cube and specify the necessary parameters with checkmarks:
| Info |
|---|
Frequent use of the “Save profile-folder” action is not recommended. Better to restrict its use in Bad end/Good end. |
Using "walking" profile-folders
Demo project:
| View file | ||
|---|---|---|
|
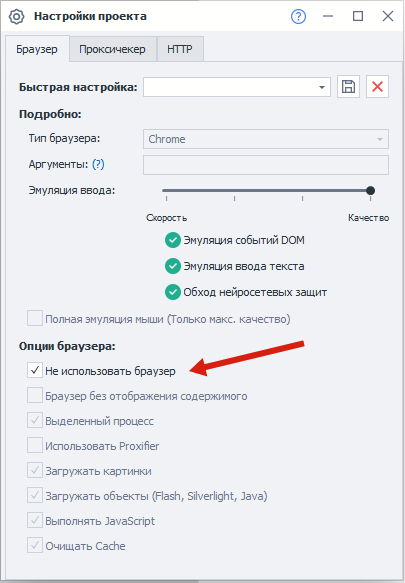
Set up a browserless project. In your project settings, mark that the project is browserless. This is necessary in order not to waste resources on running the default browser at the start of the project.

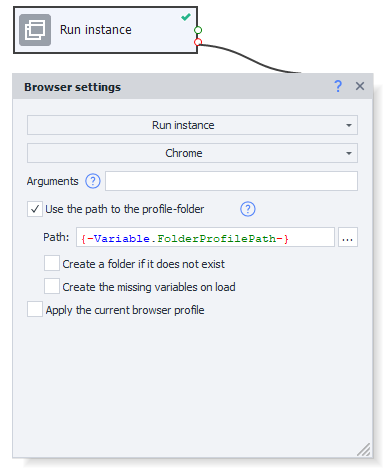
2. Run instance with a profile folder. Specify the path where your unique profile folder is located. The checkbox “Create folder if it does not exist” should be unchecked.
3. Use. Take the necessary actions - that's what you “walked up” the profiles for.
Notes
One folder per instance
Please note that only one browser instance can be run in a specific profile folder at any given time. An attempt to run two (or more) instances in the same profile folder will result in an exit on the red branch.
Debugging in ProjectMaker
Even if you close the browser using the Browser Settings => Run Instance => Without Browser action, ProjectMaker will still not “let go” the profile folder. This is due to the peculiarities of the implementation of the instance within ProjectMaker.
To free up profile folder resources during debugging, you need to run the instance with a different type of browser, for example Firefox 45.
Useful links
Browser preferences